surface topography
TOPOGRAPHIC MEASUREMENTS
Surface topography has a significant influence on the factors determining the properties of a surface. Not only gloss and aesthetics or the surface roughness of surfaces are influenced by topography. Surface topography is a decisive factor in everything from layer adhesion to friction value and corrosion.
Measurement using white-light interferometry
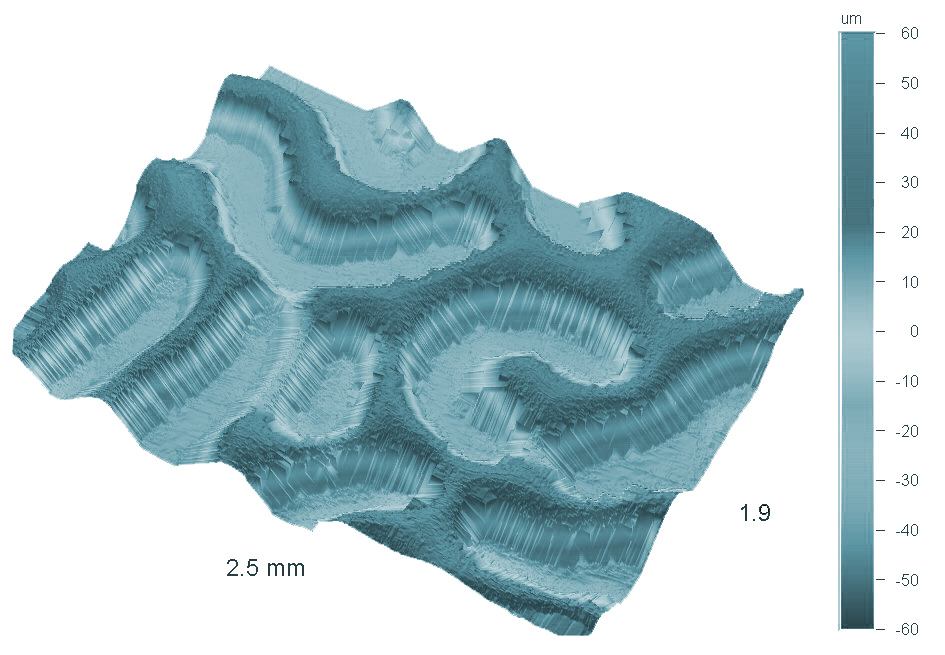
White-light interferometry (WLI) is a non-contact optical method for measuring surface topography. It uses the interference of broadband light (white light) to create 3D profile measurements of structures between a few centimeters and a few micrometers.
They allow the measurement of both very smooth surfaces with a vertical resolution in the nm range and rough surfaces in the micrometer range and steep flanks. The results are displayed as 2D profile or 3D topography images and provide detailed height profiles and roughness parameters.
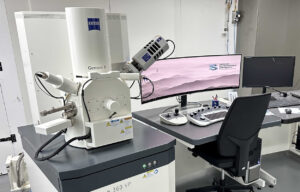
If the magnification range of up to 1,000x using white-light interferometry is insufficient, we have the option of imaging the surface using a scanning electron microscope.
| Device type and equipment | Wyko NT8000 |
| functional principle | Surface measurements on smooth and rough surfaces with the interferometer at various magnification levels of 10x – 1,000x |
| Typical applications | Inspection and measurement of the depth of surface defects or steps, grooves, etc., as well as determination of the surface roughness. |
| Requirements for the sample | Reflective surface (transparent surfaces must be vaporized in advance) |
Measurement using REM EDX
With our scanning electron microscope, we are able to image the surface at a magnification of up to 100,000x. This enables our experts, for example in the development of surfaces, to determine some parameters of the quality of an anodized surface.
Unsure what is possible with surface topography?
Methods that might also interest you
You can find an overview of other methods from the various fields of metallography and surface technology in the corresponding sections.


